If you have trouble consistently covering all the tone holes at first, don’t worry! It’s very common, but –with practice– it soon stops being an issue.
Here are a couple of pictures and a few tips.
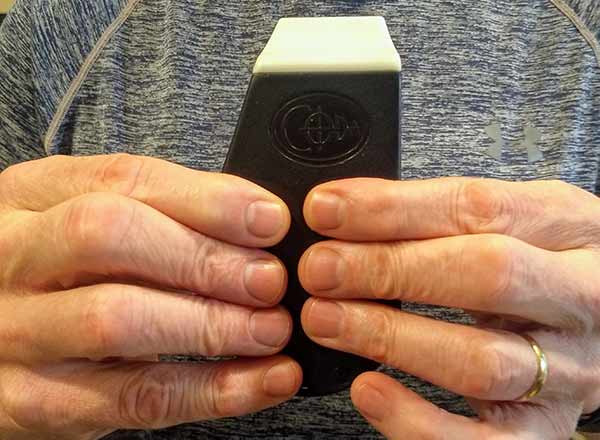
First, my wife just took a couple quick pictures of me holding Coda to show you what that looks like. My fingers are relaxed, and I am covering the tone holes with the pads of my fingers rather than the finger tips. You’ll notice that my fingers are more or less in line with the tone holes as opposed to being angled up or down.
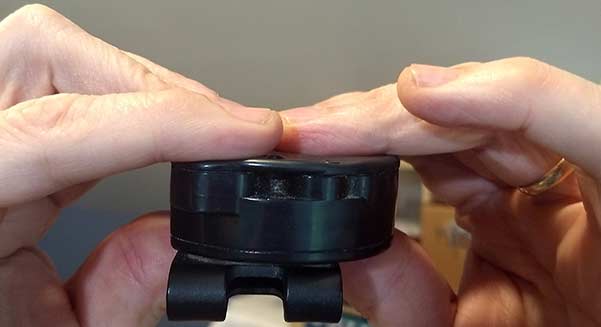
Also, notice that each tonehole is divided into two “halves,” so be sure to cover both halves of each bisected tonehole. The outer half controls the lower chamber, and the inner half controls the upper chamber.
Eventually holding Coda will feel very natural, as if it’s an extension of your hands. But at first, it can feel awkward. After all, the entire instrument is only 5 inches long. A way to quickly get your fingers used to holding Coda is by doing what I call Silent Fingering Exercises. I do these with my feet up while watching a movie with my family, etc., and it’s one of the many advantages of an EDC (everyday carry) instrument.
How To Do Silent Fingering Exercises: Hold Coda up to your lips, or at chest level, but don’t blow. Instead, just walk your fingers up and down the scale, one octave or both octaves, over and over, in sort of an absentminded way. If you’re like me, you’ll EVENTUALLY come up with all sorts of productive fingering gymnastics that later pay off when you play Coda. For instance, you can practice scales, difficult fingering transitions, sharps and flats, challenging ornaments, whatever you can think of, while you watch a movie. It’s surprisingly helpful for developing the necessary muscle memory, which helps you to “become one with your instrument.”
Here’s another thing you can do if you feel frustrated at first about not always covering the tone holes completely. Start out with simple songs. For instance, try our free Self-Learning Music Curriculum here: https://codaedc.com/smc/ (or at least the simpler songs included on the pamphlet with your Coda). By starting with simple three note songs and then adding one new note at a time, you can isolate which holes you’re not covering completely and quickly self-correct. This is not a bad idea even for more advanced musicians.
Everyone is different, but some folks’ hands feel quickly fatigued when they are in the early stages of playing. This comes from gripping Coda too tightly in an attempt to seal the tone holes. What you’ll discover after a while is that a relaxed grip with correct finger positioning is what works instead of a tight grip, but that too will come with practice.
If it’s specifically the upper chamber that’s giving you a problem at first, here are a couple of suggestions. One, you can play just the lower chamber at first. It has plenty of range to get started. You can add on the upper chamber when you feel confident with the lower chamber. Two, remember that the inner “halves” of the divided tone holes control the upper chamber, so try sliding your finger tips a little more toward the center of Coda if your upper chamber doesn’t sound right.
You know, when I pick up an alto recorder, covering the holes feels very awkward, the distance between some holes is a weird stretch, and I have trouble consistently covering all the tone holes, especially on the low notes. However, I’m sure that if I played the instrument enough my fingers would eventually feel at home. Everyone’s different, but with Coda you may experience something similar.